目次 [INDEX]
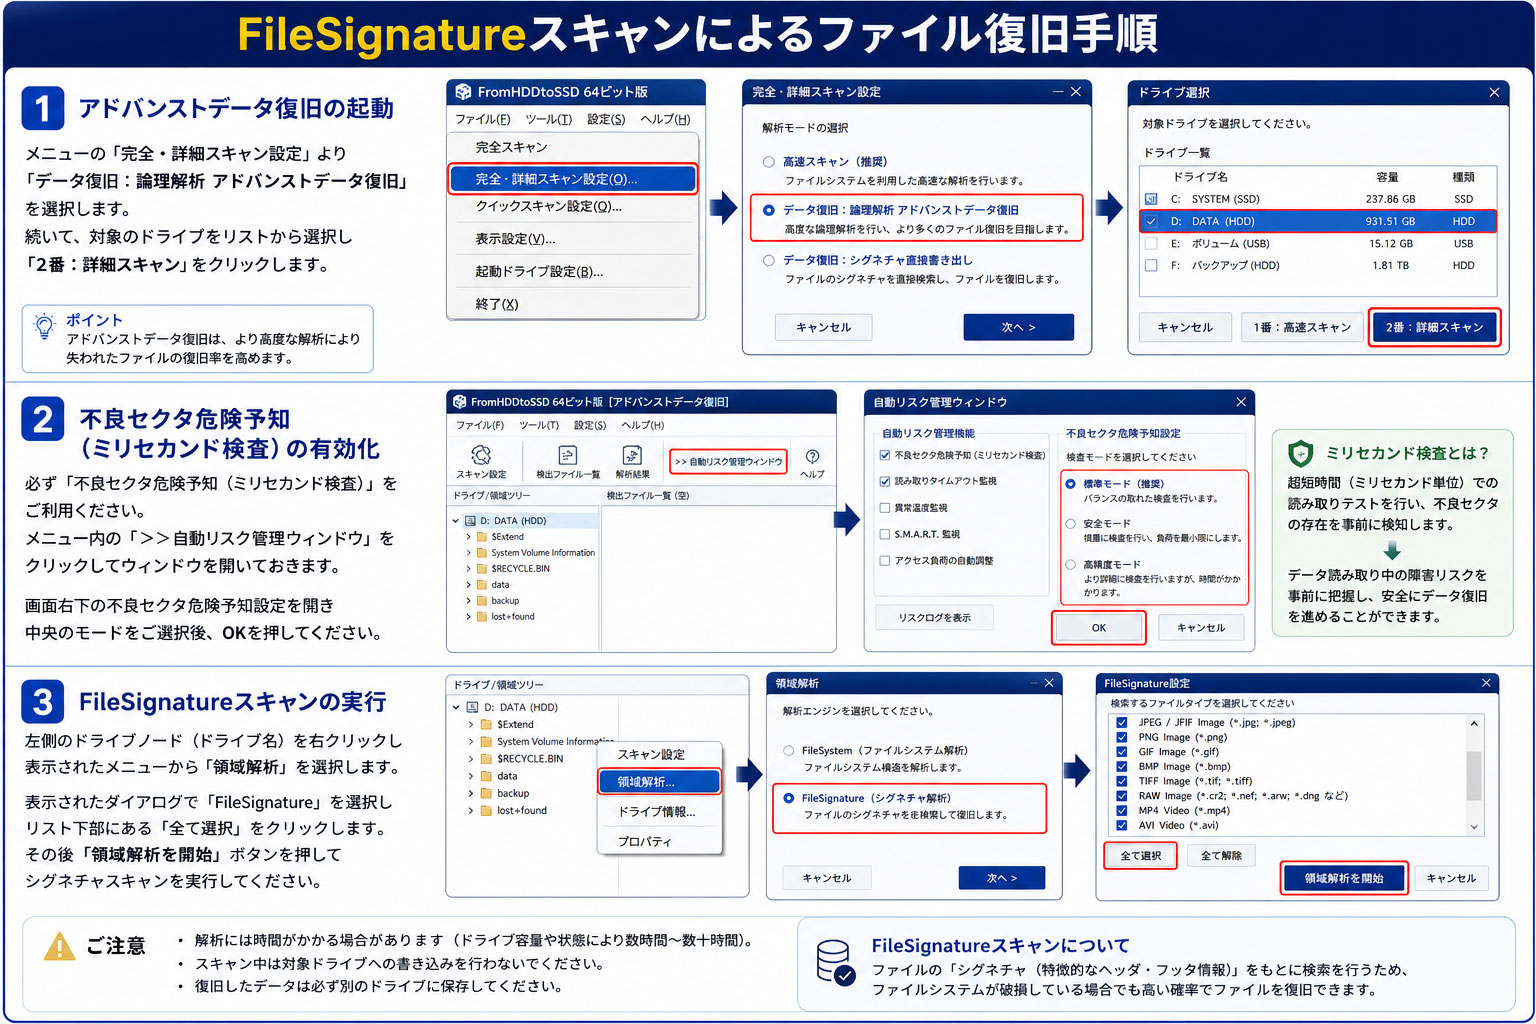
FileSignatureスキャンによるファイル復旧手順
1. アドバンストデータ復旧の起動
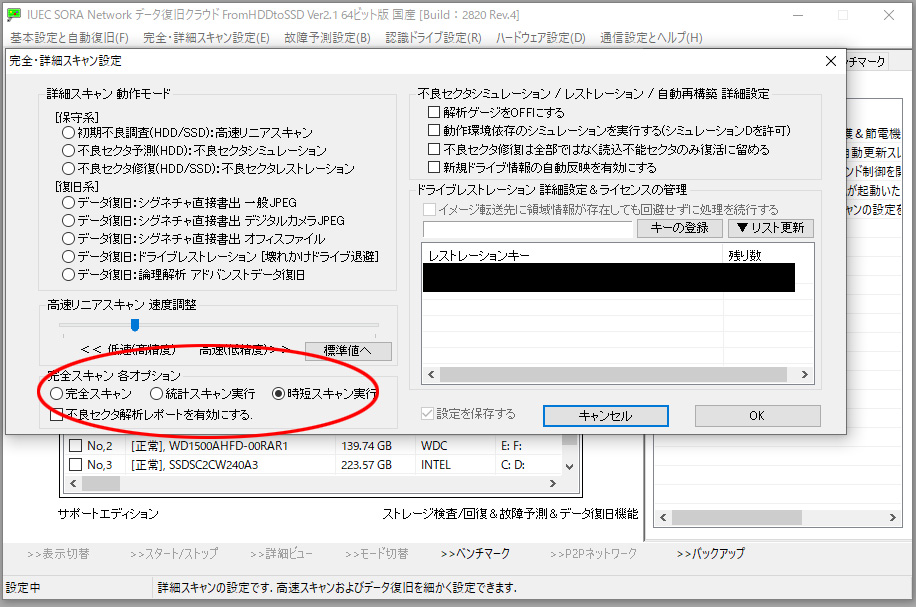
メニューの「完全・詳細スキャン設定」より「データ復旧:論理解析 アドバンストデータ復旧」を選択します。続いて、対象のドライブをリストから選択し「2番:詳細スキャン」をクリックします。
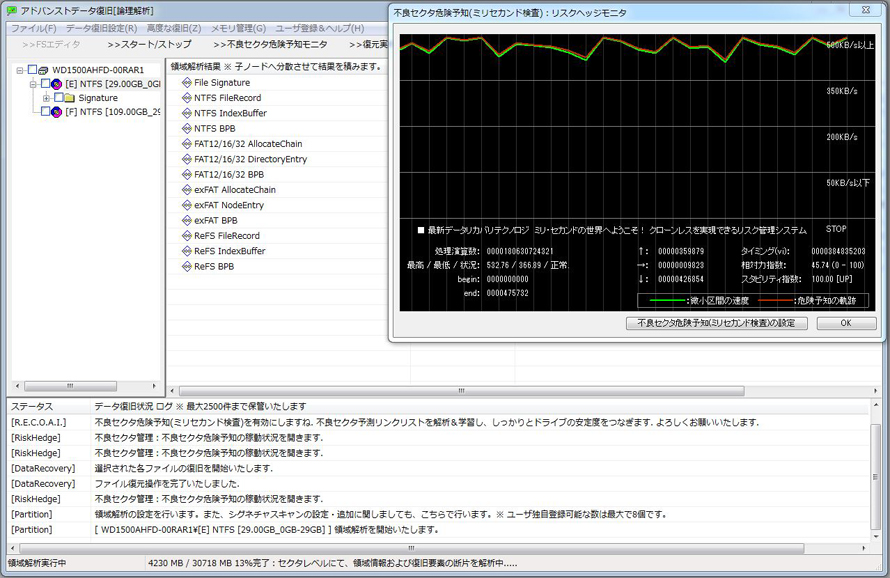
2. 不良セクタ危険予知(ミリセカンド検査)の有効化

必ず「不良セクタ危険予知(ミリセカンド検査)」をご利用ください。メニュー内の「>>自動リスク管理ウィンドウ」をクリックしてウィンドウを開いておきます。
画面右下の不良セクタ危険予知設定を開き中央のモードをご選択後、OKを押してください。
3. FileSignatureスキャンの実行
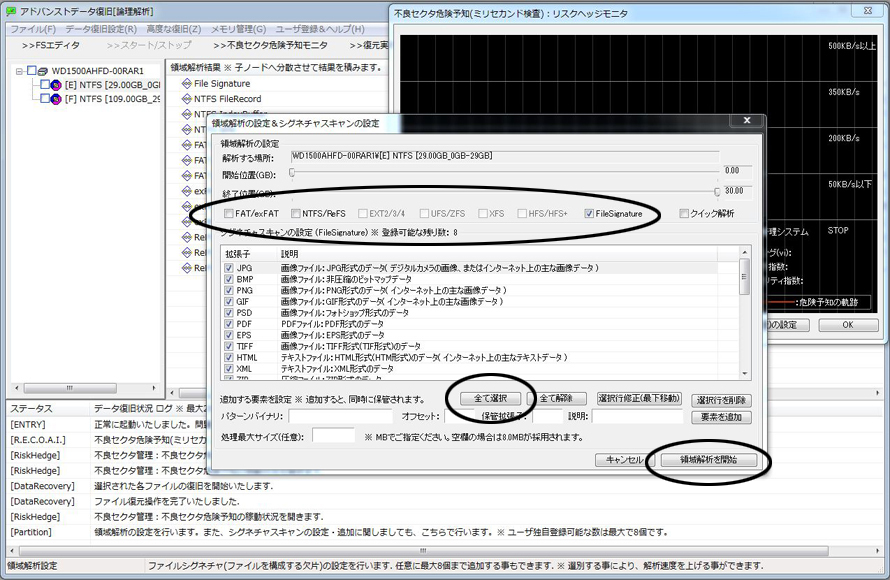
左側のドライブノード(ドライブ名)を右クリックし表示されたメニューから「領域解析」を選択します。
表示されたダイアログで「FileSignature」を選択しリスト下部にある「全て選択」をクリックします。その後「領域解析を開始」ボタンを押してシグネチャスキャンを実行してください。
4. スキャン中の注意点
ドライブの容量によってはスキャンに数十時間かかることがあります。
その間も、不良セクタ危険予知のグラフが動作し常にドライブの状態をモニタリングしています。ドライブの劣化が進行中であっても安全性を確保しつつスキャンが進行します。
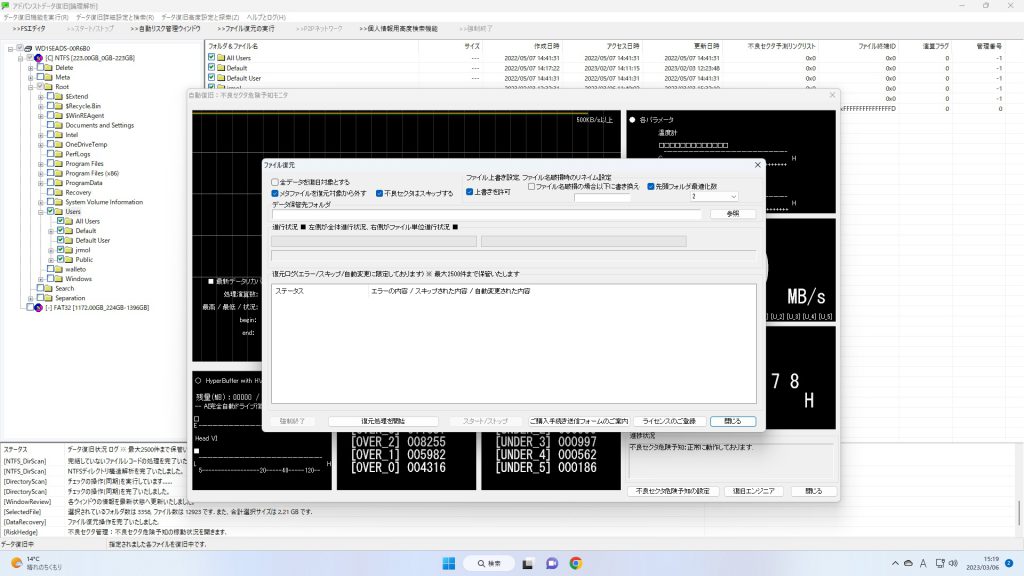
5. スキャン完了とファイルの選択
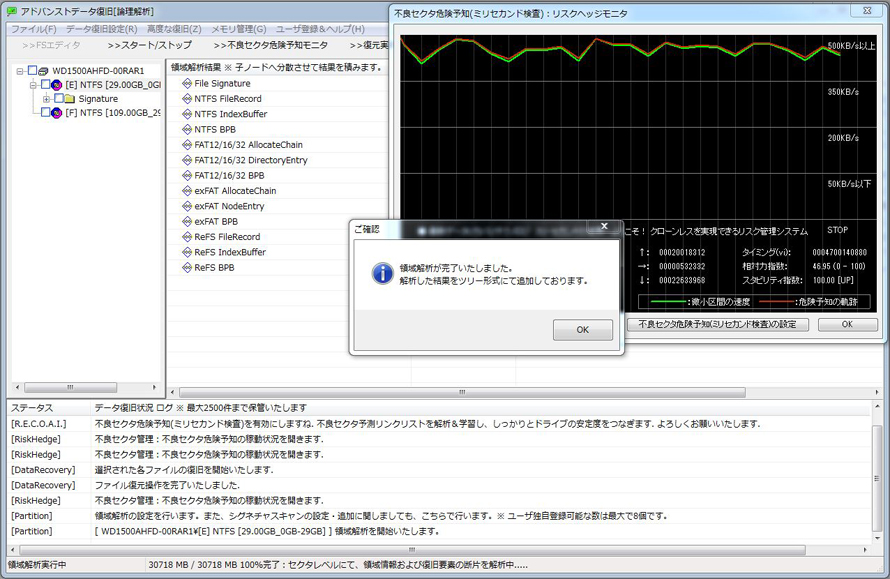
このシグネチャスキャンにより復旧可能なファイルが連番形式でリスト表示されます。リスト内の「Signature」にチェックを入れすべての復旧候補を選択します。
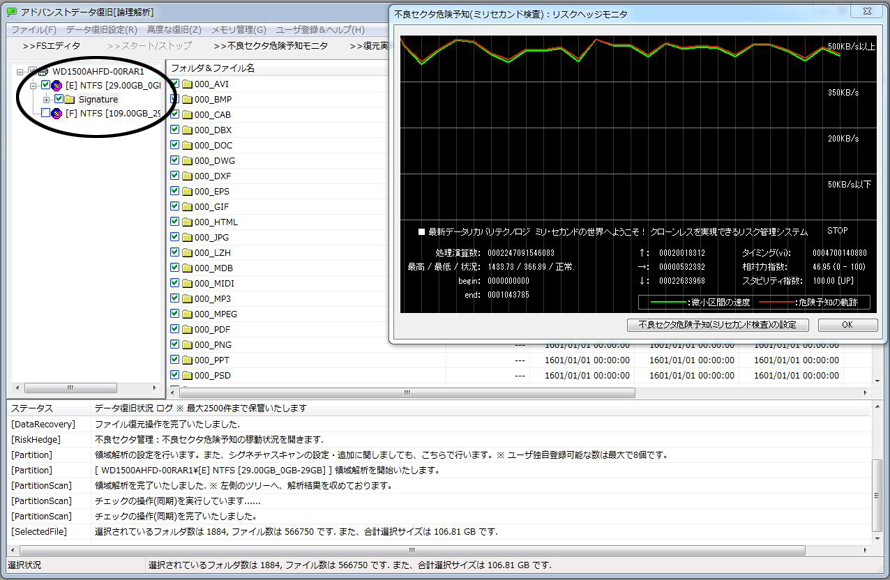
6. ファイルの復元
最後に「ファイル復元」を実行し選択されたファイルを書き出してください。保存先の指定のちデータ復旧作業を完了させます。