目次 [INDEX]
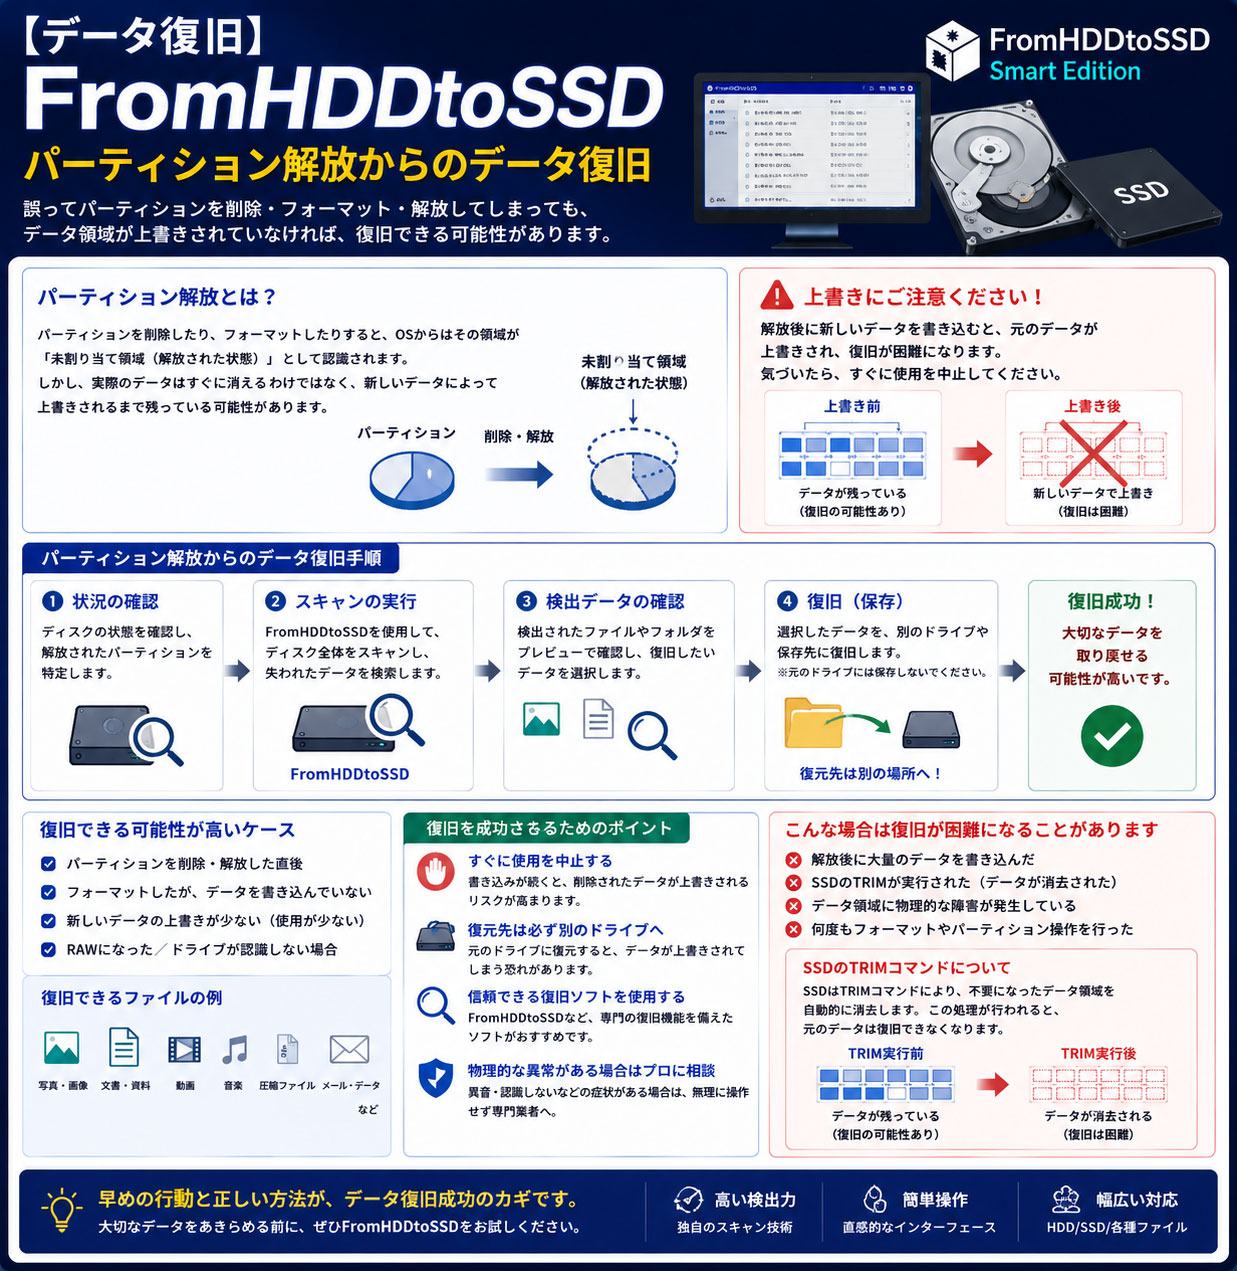
パーティション解放からのデータ復旧
復旧対象ドライブの選択と詳細スキャン
復旧対象となるドライブを4番のリストから選択し2番の「詳細スキャン」ボタンをクリックします。
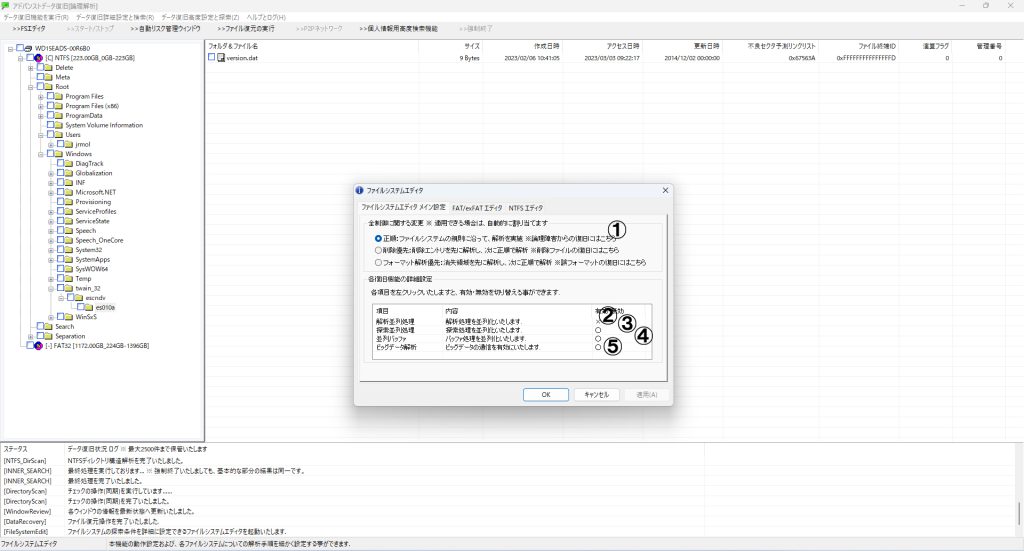
FSエディタでの設定(共通)
立ち上がったファイルシステムエディタ(FSエディタ)にて1番目の「正順」を選択し「適用 → OK」を実行します。
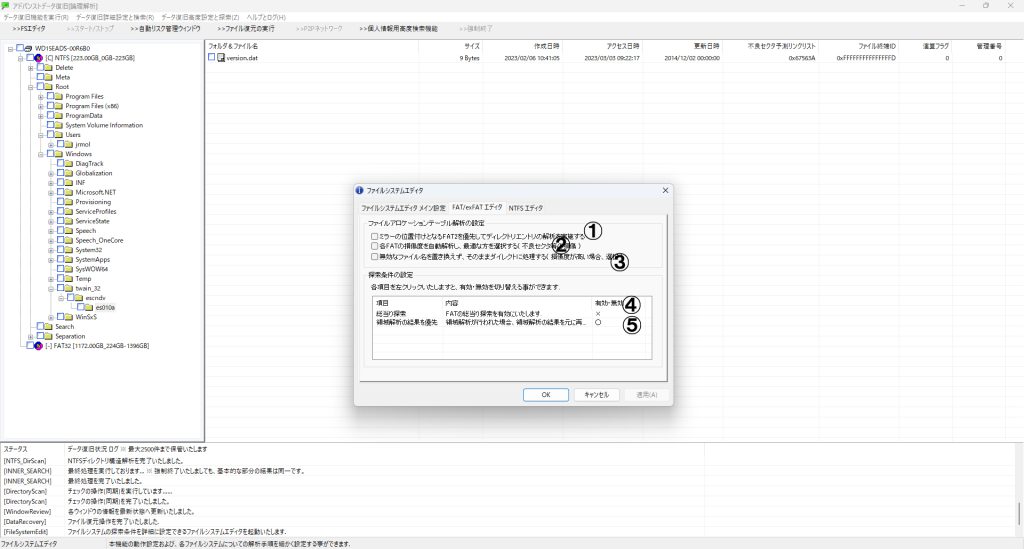
FAT / exFATドライブの場合
FSエディタ内の「FAT/exFAT エディタ」を開きます。ファイルアロケーションテーブルの設定にて2番目と3番目の項目にチェックを入れ「適用 → OK」を選択します。
NTFSドライブの場合
FSエディタ内の「NTFS エディタ」を開き2番目の「ファイルレコードの損傷度を自動解析し最適な方を選択する」にチェックを入れ「適用 → OK」を実行します。
損傷が激しい場合:ビッグデータ構造解析の活用
さらにデータが不足している場合はビッグデータによる深い構造解析が必要です。
以下の手順で準備を行ってください:
- NTFSエディタで2番目と3番目にチェックを入れます。
- 解析深度のスライダーを中間付近まで上げます。
これで、損傷部分(不良セクタによる欠損)を自動的に補完しつつ分布計算を含む解析が可能となります。
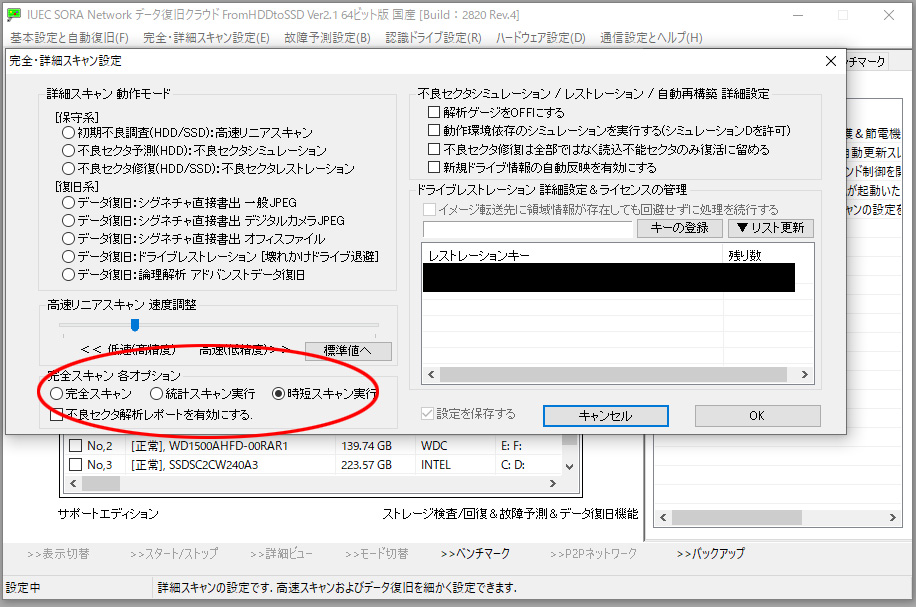
領域解析の実行
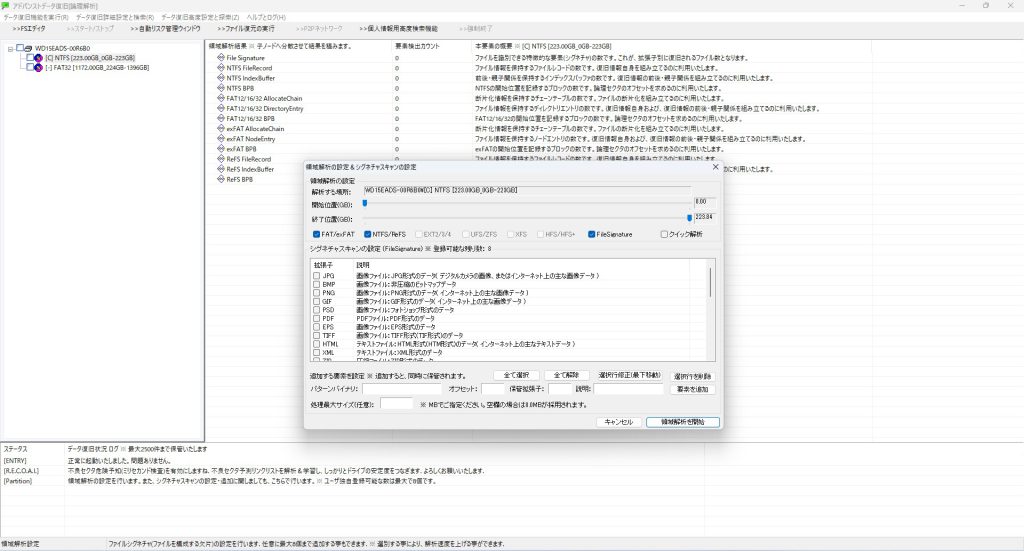
救出対象のドライブを右クリックし、「領域解析」を選択します。領域解析ダイアログでは、「クイック解析」にチェックを入れ「領域解析を開始」をクリックしてください。
※「クイック解析」のチェックを忘れると解析時間が大幅に延びます。必ず有効にしてください。
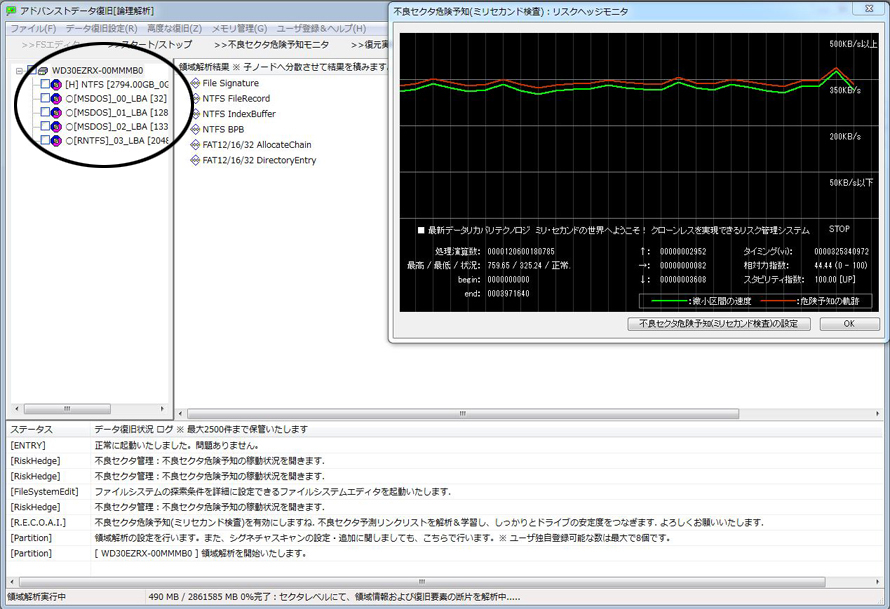
白丸ノードが出現した時点で終了
解析が進み、白丸ノードが表示されたらここで強制終了します。
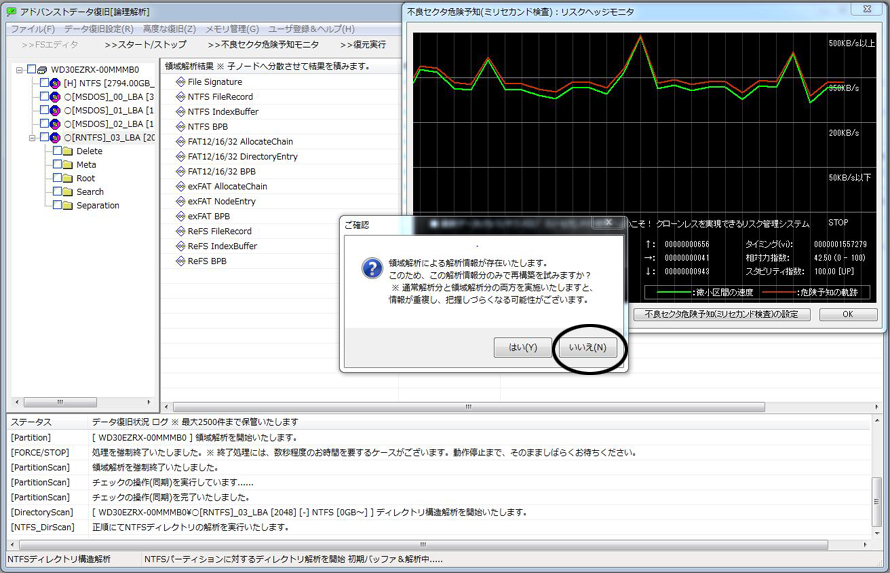
ディレクトリ構造解析と復元
白丸ノードを右クリックし「ディレクトリ構造解析」を選択します。途中の質問には「いいえ」を選択してください。解析が完了すると「Root」フォルダ内に失われたファイル・フォルダが出現します。該当フォルダにチェックを入れてください。
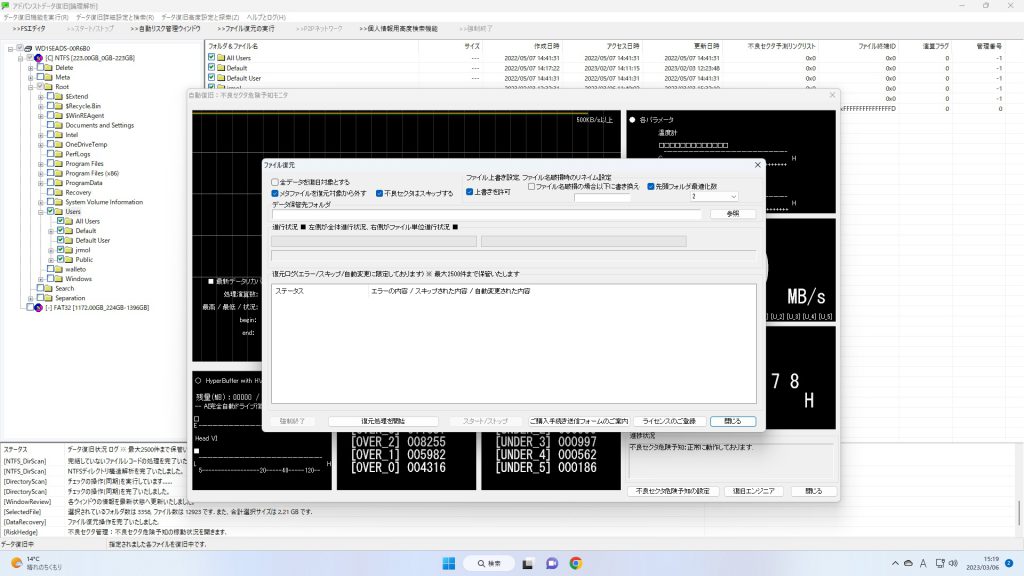
ファイルの復元を実行
最後に「ファイル復元」機能により、選択されたデータを目的のフォルダへ書き出します。データ復旧対象ドライブを4番のリストからご選択後に2番の「詳細スキャン」をクリックいたします。