目次 [INDEX]
データ復旧:論理解析 アドバンストデータ復旧
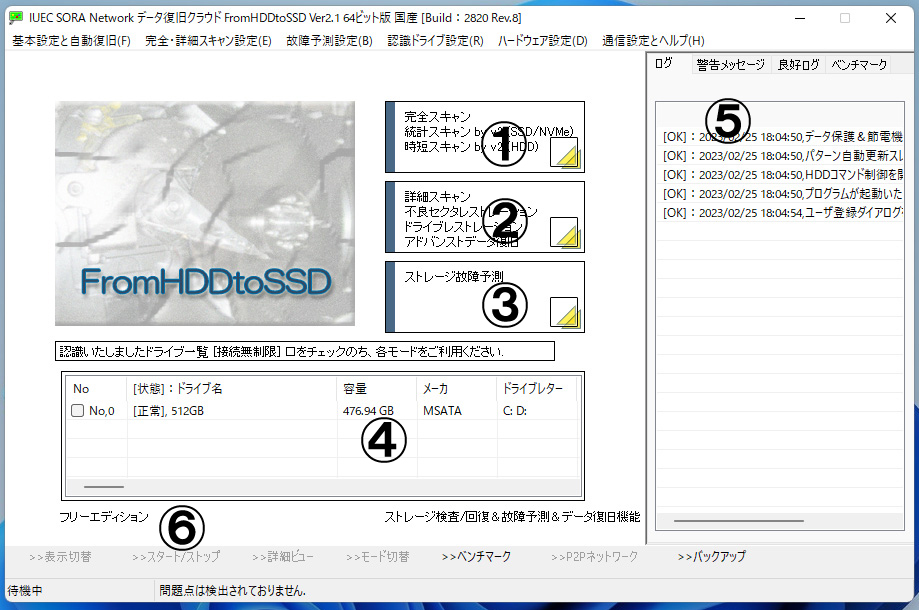
4番:データ復旧対象のドライブを選択
復旧対象となるドライブを指定します。チェックを入れることで以降の操作対象となります。
2番:アドバンストデータ復旧を起動
選択したドライブに対して高度なデータ復旧ウィンドウが起動します。
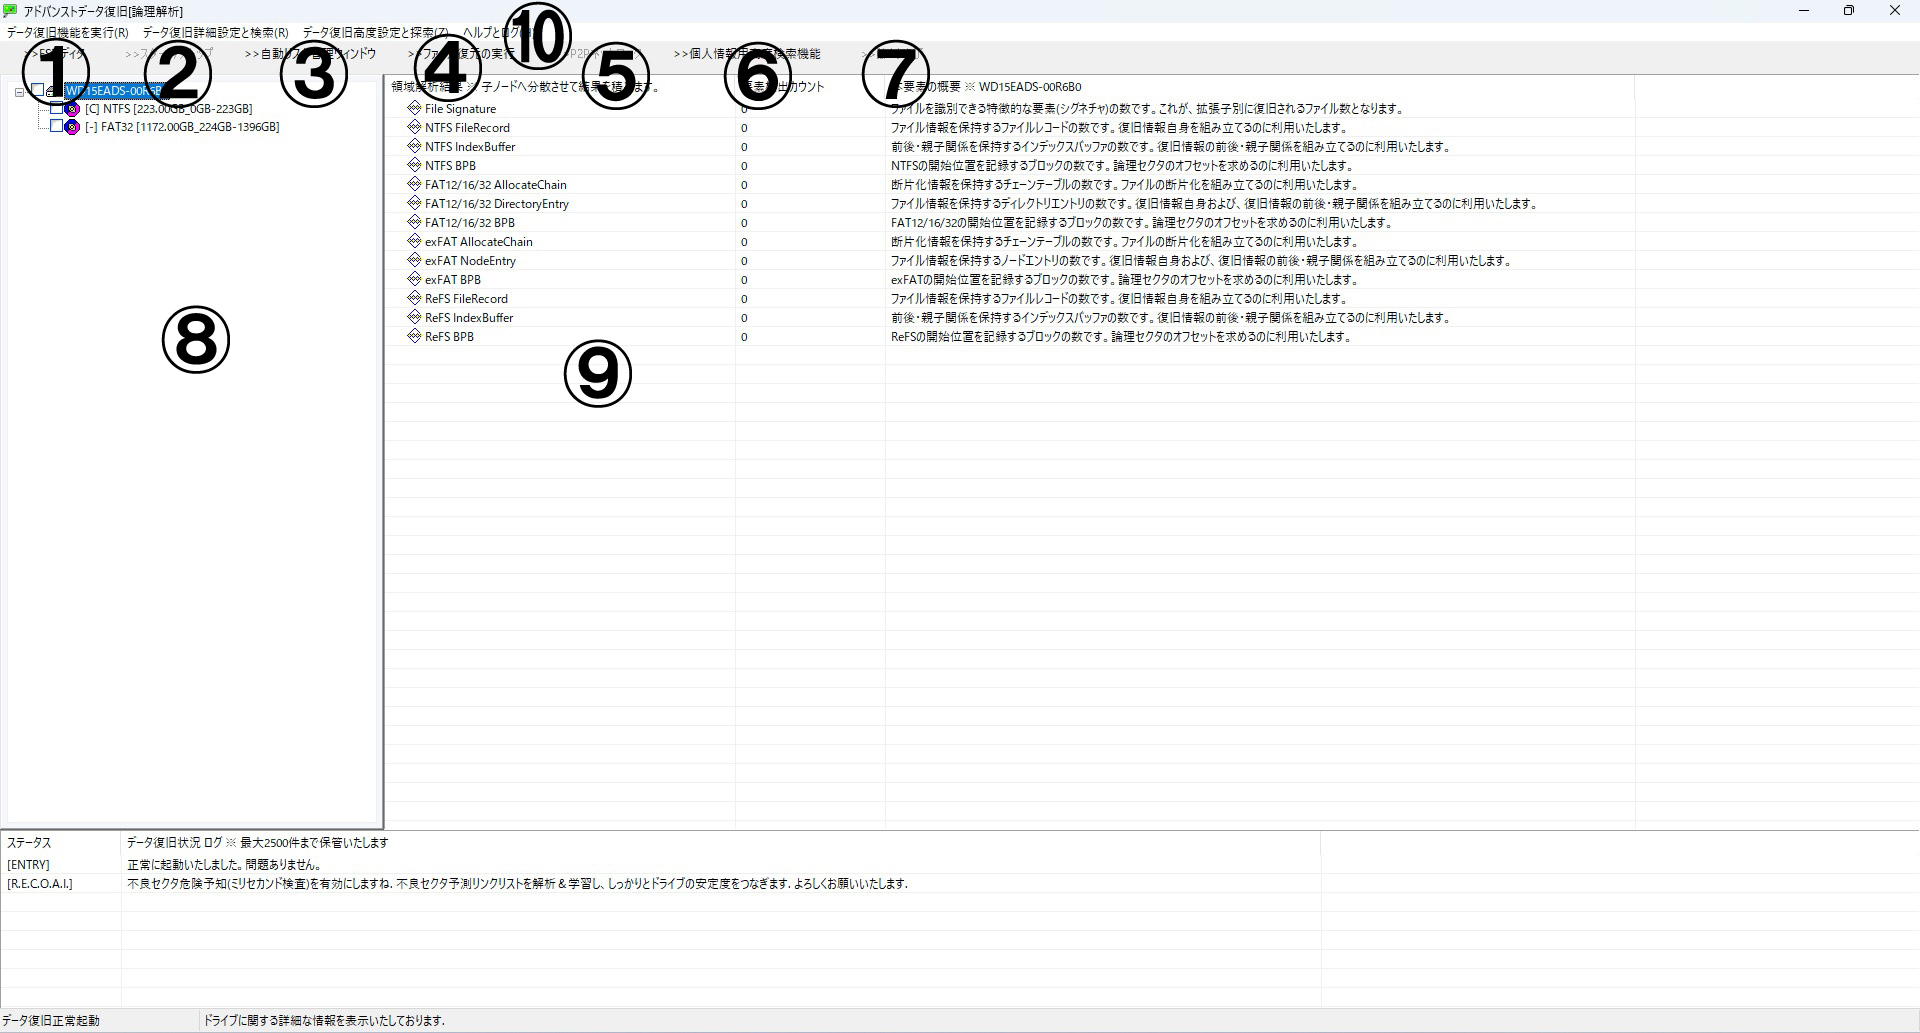
1番:ファイルシステムエディタの起動
ディレクトリ構造を再構築する機能です。全体の再構築を待たずとも途中経過を確認しながら目的のファイルを発見次第、即復元に移行可能です。並列解析により高速な処理が可能です。
3番:ドライブ制御パネル
物理的に劣化が進んだドライブに対しても制御を加えながら復旧できる独自機能です。
4番:対象ファイルの復旧・書き出し
8番および9番で表示されたファイルからチェックボックスで選択し復旧を実行します。
6番:オプション設定
データ復旧に関する細かな設定を変更できます。
7番:強制終了
復旧作業を途中で終了する際に使用します。
8番:ツリービューの構造
「ドライブノード」「領域ノード」「フォルダノード」の三階層構造で表示されます。
- ドライブノード:復旧対象となるドライブの名称が最上部に表示されます。
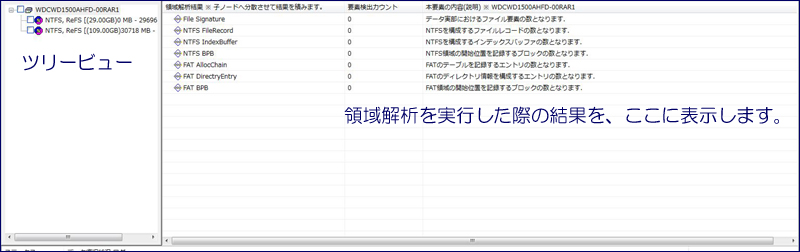
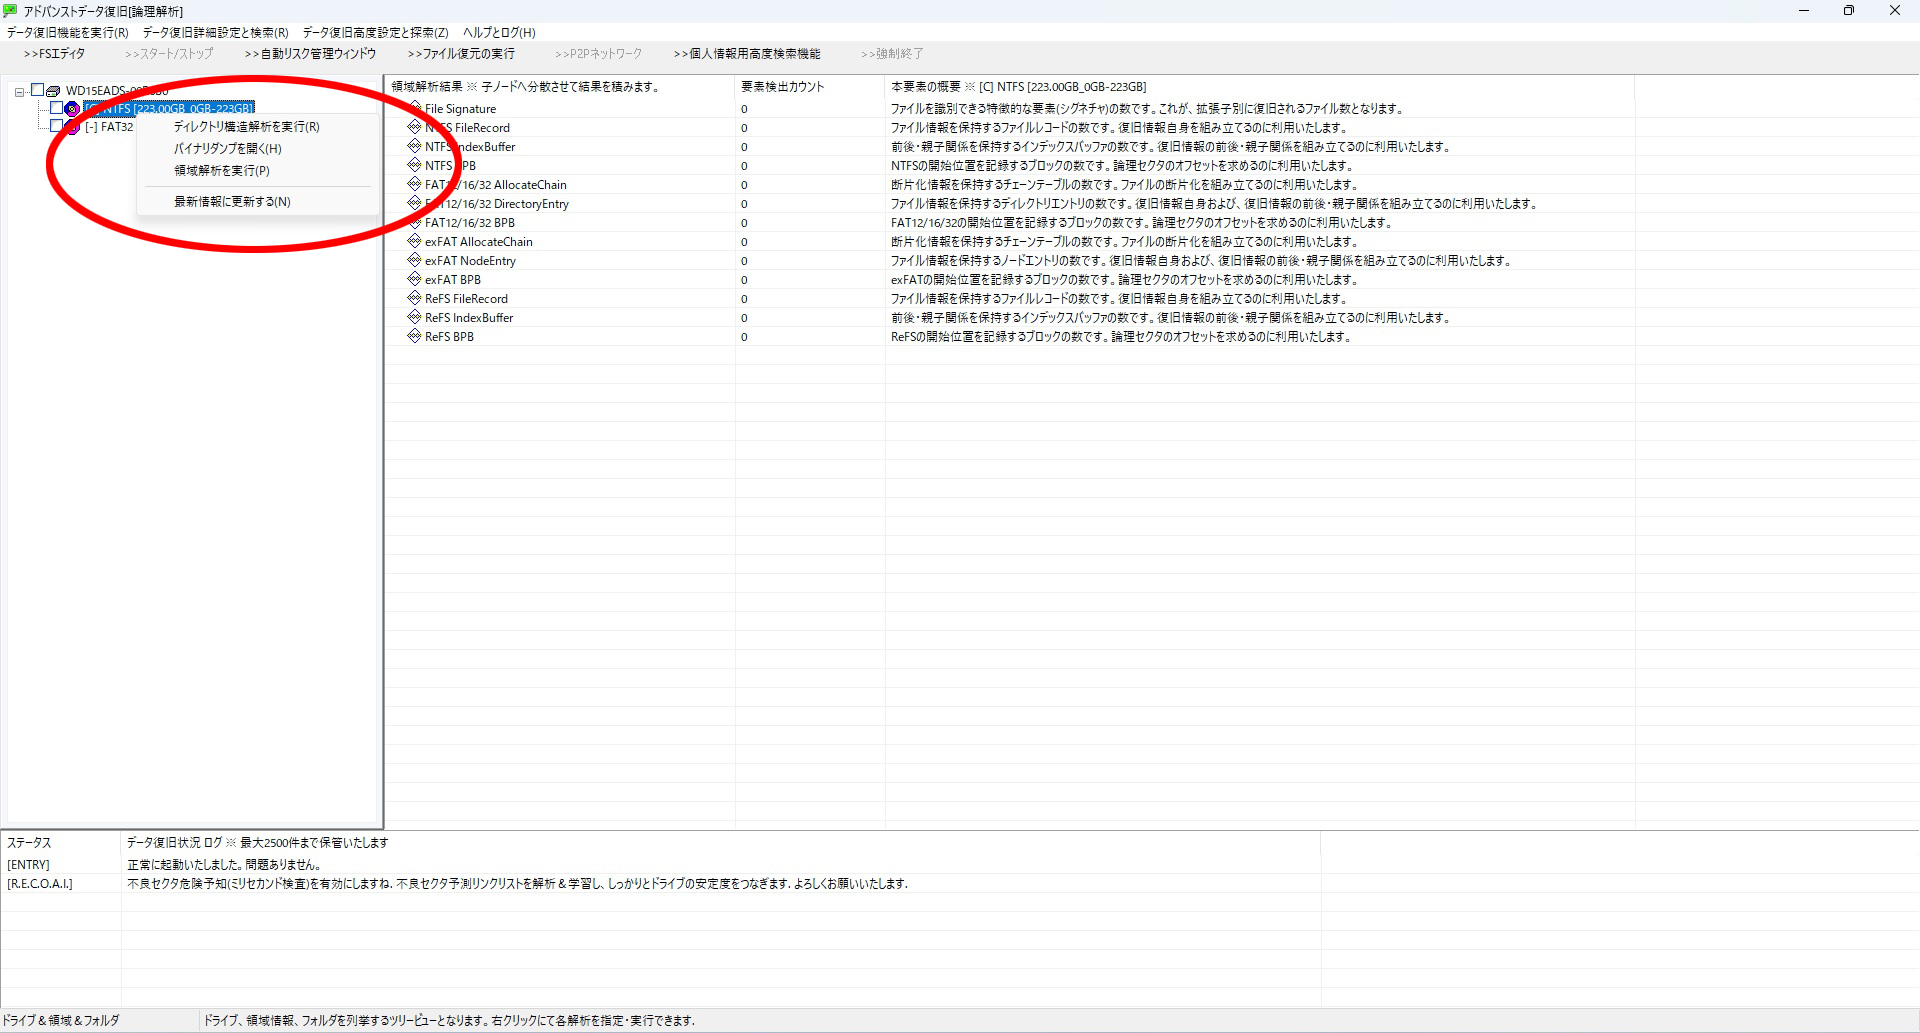
- 領域ノード:ファイルシステムの候補が表示され右クリックで「ディレクトリ構造解析」等の操作が可能です。
- フォルダノード:抽出された各フォルダが表示され内部構造の確認や復旧処理に進めます。
領域ノードでの解析結果:五種類のフォルダに分類
データ復旧後、以下のフォルダに分類されて格納されます。
- Delete:削除されたファイルやフォルダ
- Meta:ファイルシステムのメタ情報
- Root:既存の正常なファイル・フォルダ
- Search:検索結果
- Separation:孤立したファイル(DeleteやRootに含まれないもの)
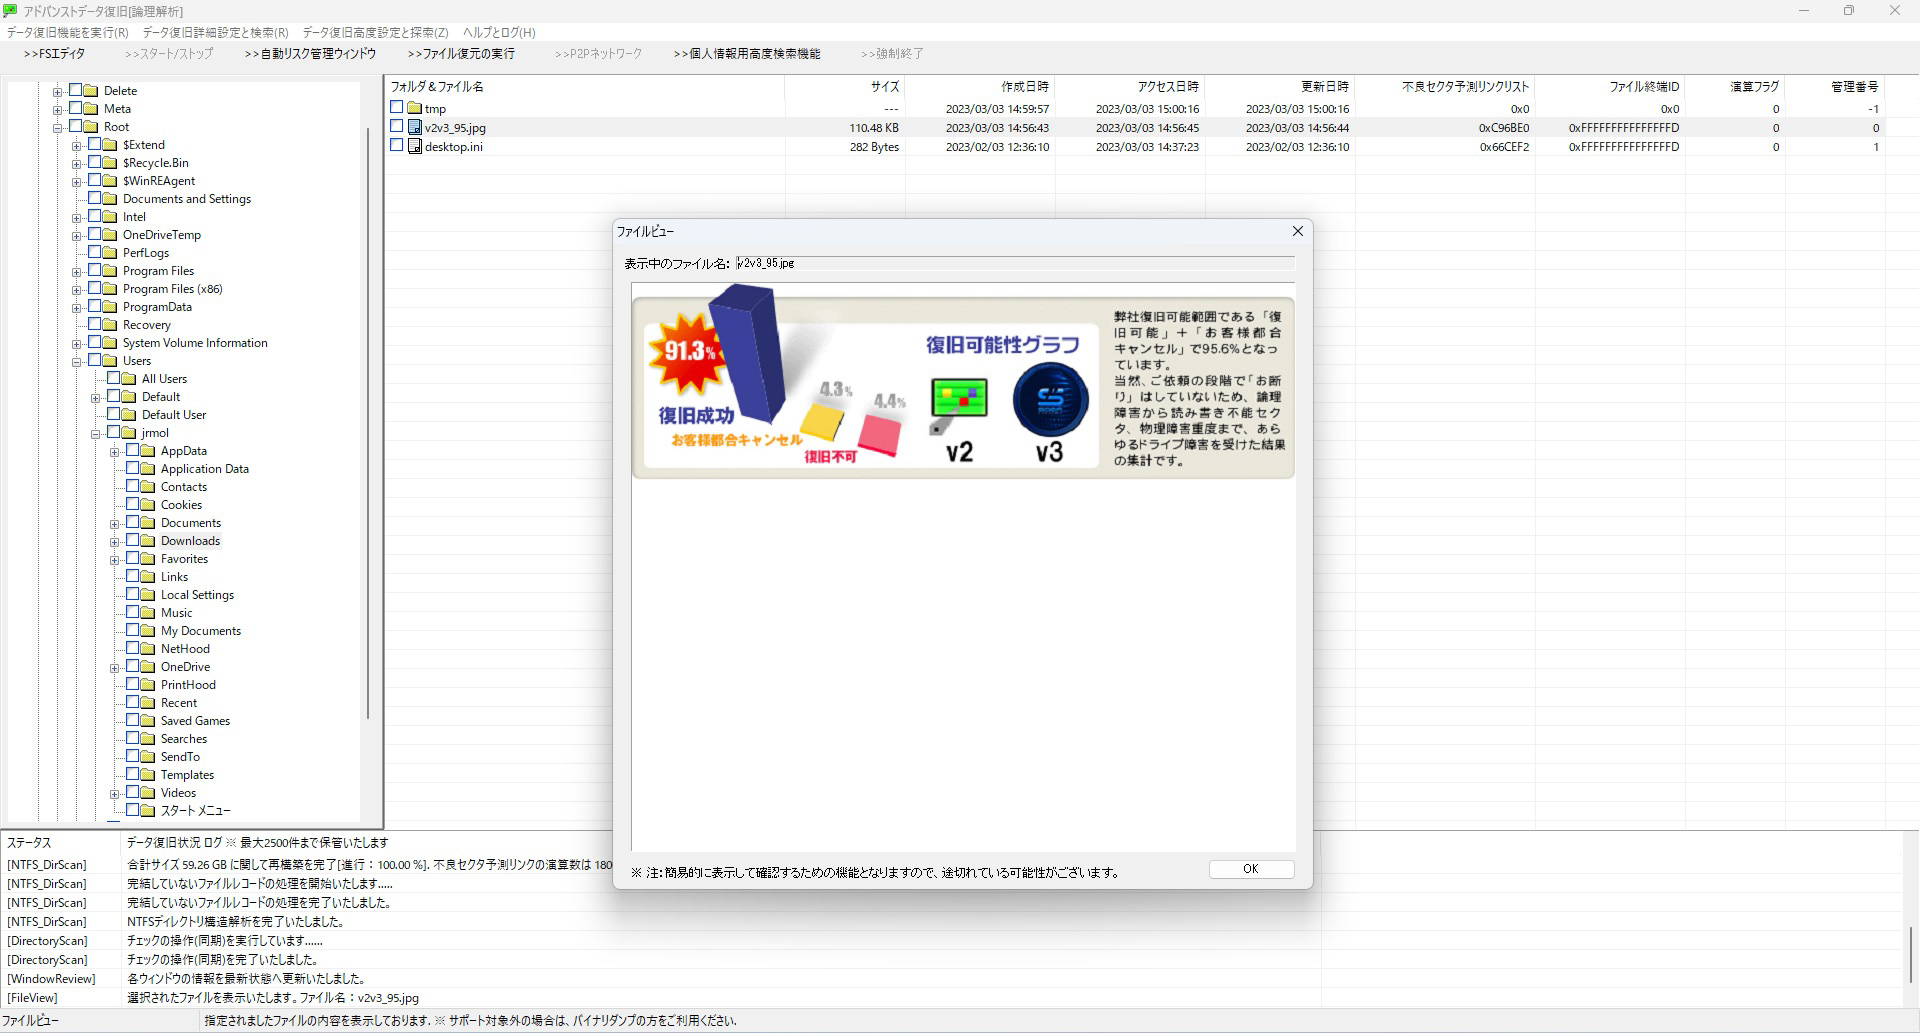
9番:フォルダ内のファイル表示
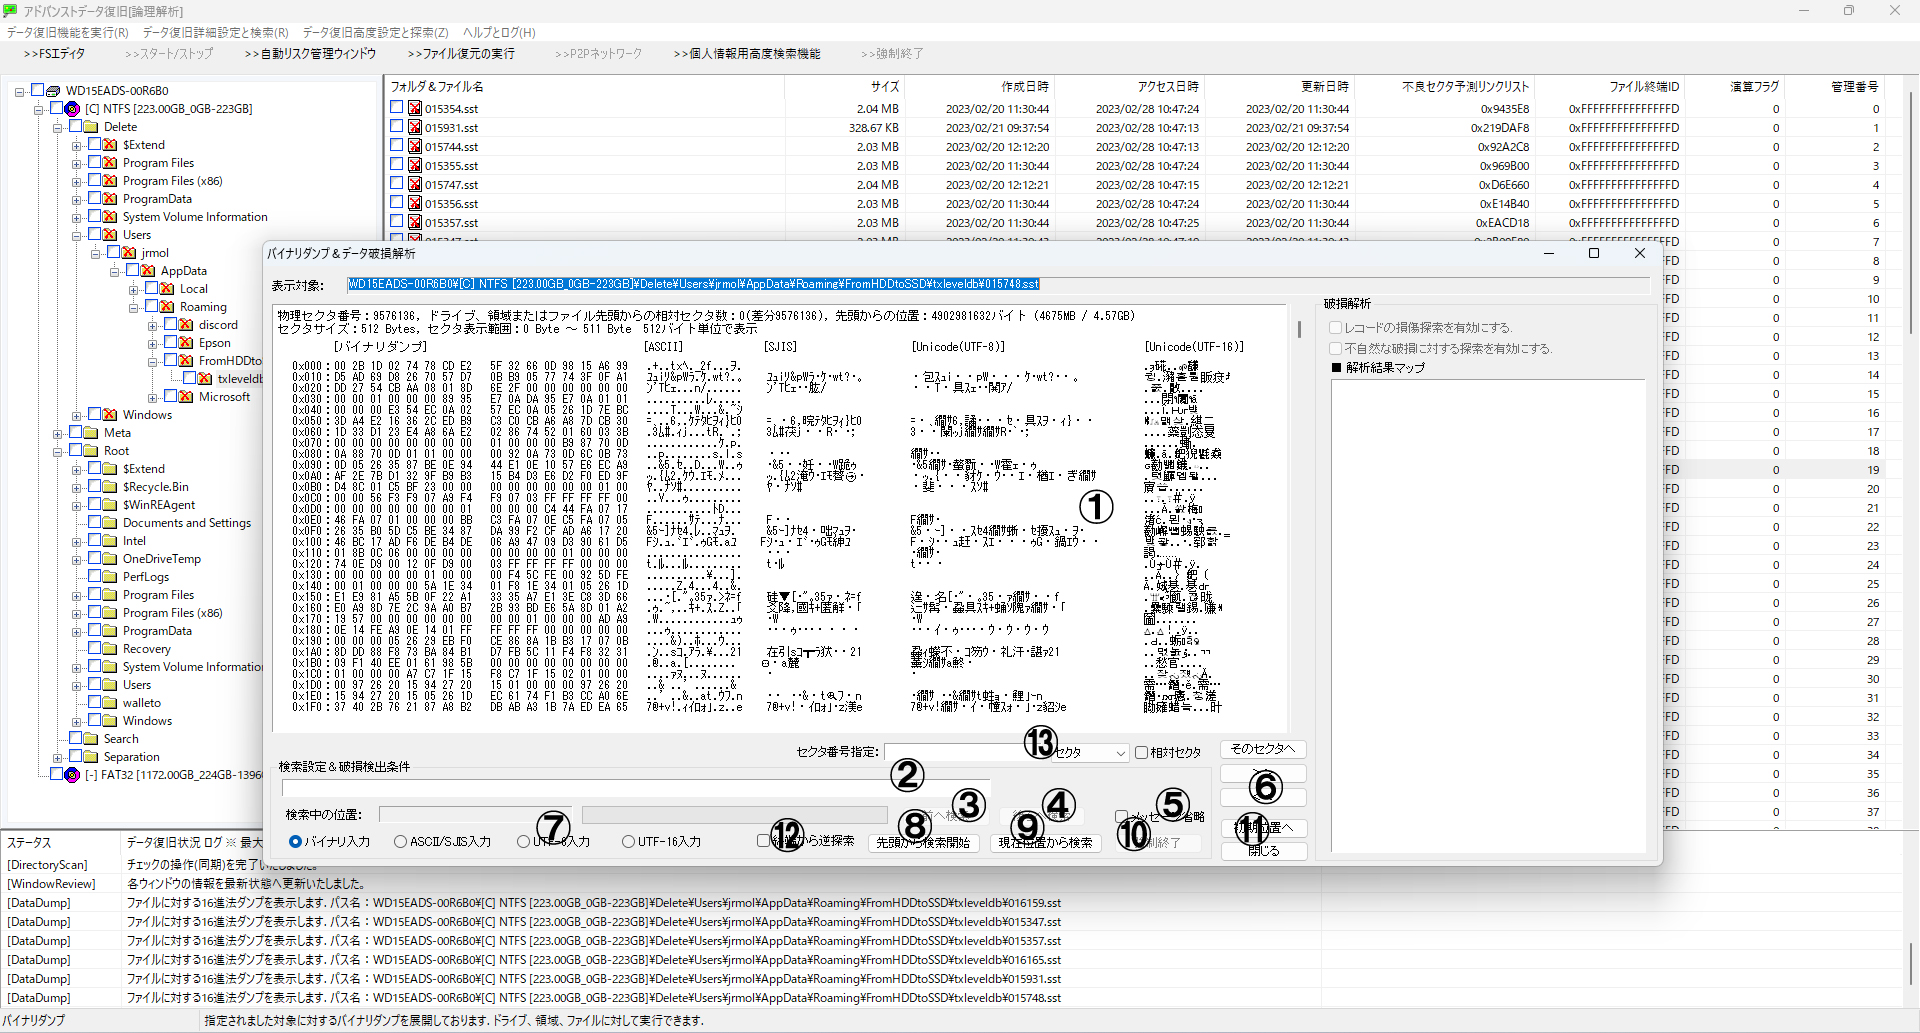
選択したフォルダの中身(ファイル一覧)を表示します。Windowsエクスプローラのような操作感で利用でき、右クリックで「バイナリダンプ」なども可能です。
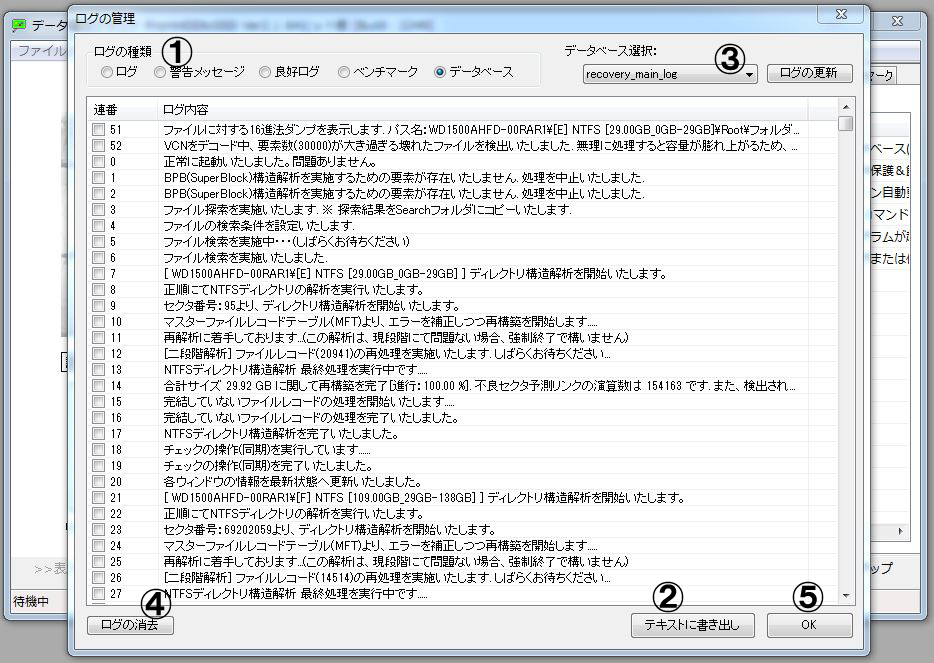
10番:動作ログの確認
作業中の記録はすべてデータベースに保存されており、ここから確認可能です。